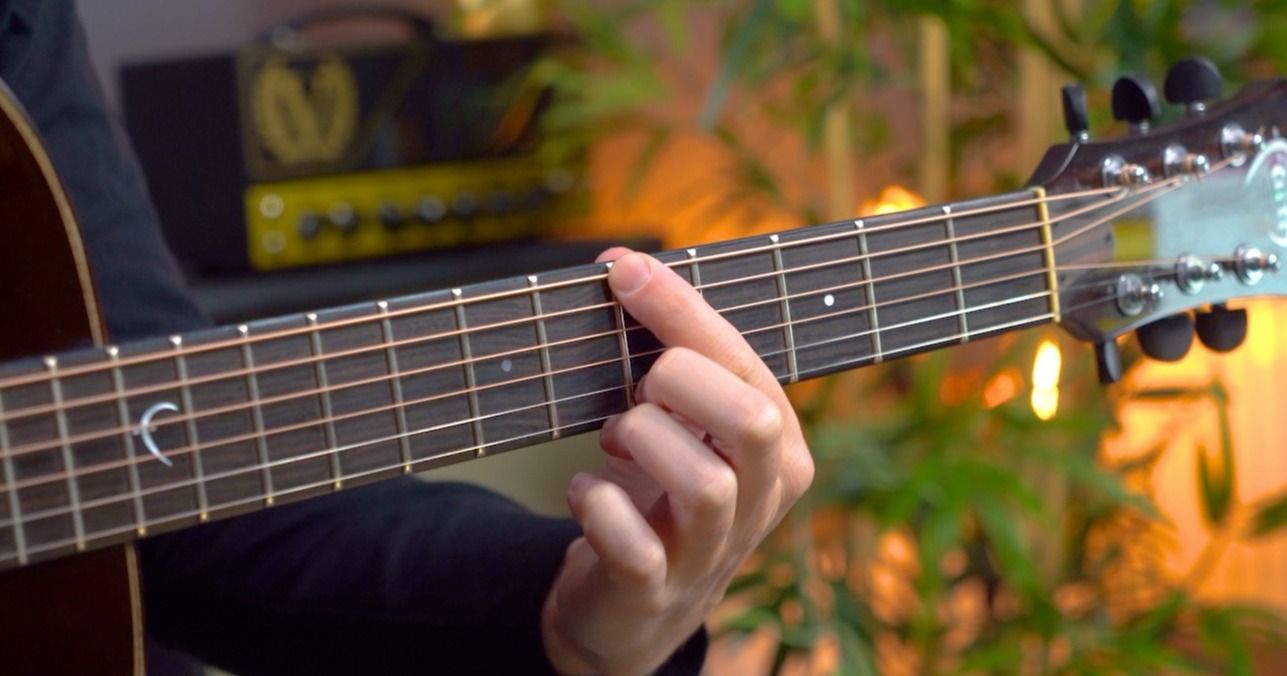
In this video
Welcome to week 10 of the Technique weekly challenge!
This week, we look at four great and varied techniques that feed into each other to overall perfect fretting notes!
Exercise 1 - Fingers Right Up Against The Fret Always

Always place the fingers right next to the frets closest to you, almost on top of the metal.
If done correctly you should notice;
The finger isn’t in the centre of the fret
A clear sounding note
No changes in the pitch of a note
This should make the guitar feel as comfortable as possible to play.
Exercise 2 - Not Too Much Pressure (Try without your thumb!)

Following on from exercise 1, but now focus on how much pressure is on the string (not too much!)
Fret a note with the 1st finger (try fret 1, string 6)
Keep the 1st finger down but relax the thumb away from the back of the neck
Apply just the right amount of pressure to keep the note sounding out
Exercise 3 - Vertical, Angle, In-between

Generally for strings 4, 5, 6, the fingers are ‘vertical’ to the fretboard, just as normal
For the higher strings, the fingers angle slightly to allow for stretching & to prepare for string bends
The transition between vertical & angled means the middle strings are in-between these two states - this is natural for when playing scales or going from rhythm to lead.
Exercise 4 - Thumb Back Middle, High, On Top

Following on from exercise 3, the thumb has it’s own positioning depending on what’s being played.
The thumb is over the top for single note lead lines & sometimes for certain chords
Or, right in the ‘back middle’ if you’re playing a riff around strings 3, 4, 5, 6
These positions flow & really make sense as we work around the guitar!

