
Finger Gym 5: 3 Finger Combinations
In this video
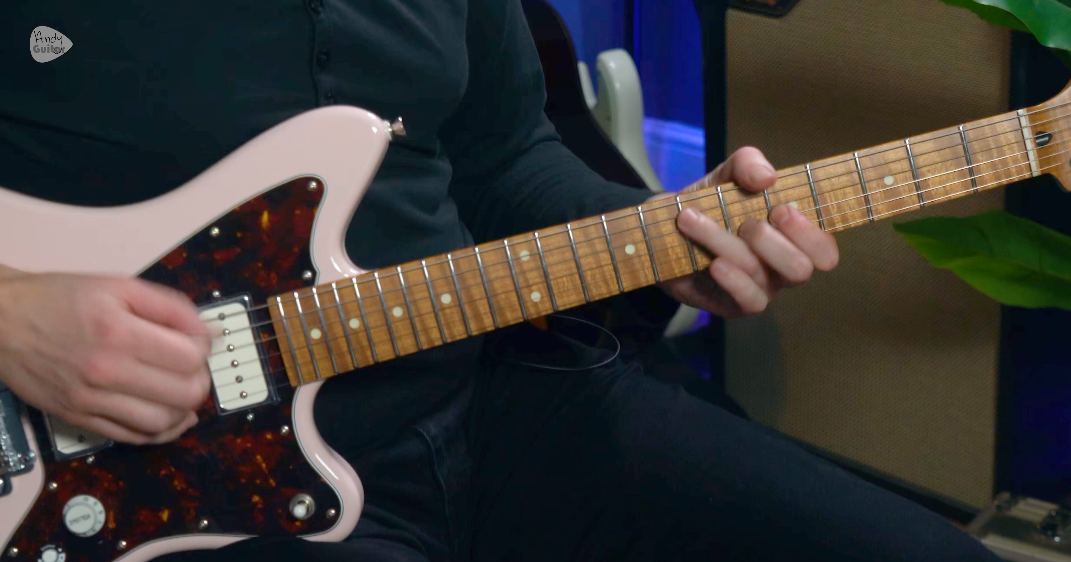
Three-finger hammer-on and pull/flick-off combinations are the next step from the two-finger work you've been building since the earlier levels. The principle is the same — vertical finger placement, clean fretting, thumb muting on unused strings — but adding a third finger raises the difficulty considerably, particularly when the little finger is involved. This is not just a lead playing exercise. The same vertical technique that makes your flick-offs clean is exactly what's needed for accurate chord playing further down the neck. The two exercises together — X's up the fretboard from the previous level, and these three-finger combinations — give you the full technical toolkit to start playing with real control and speed.
What you will learn:
• The mechanics of three-finger hammer-ons and pull-offs, and how they differ from two-finger work
• Why vertical finger placement matters for both lead playing and chord technique
• How to work through the full range of fret positions, from the lower frets to the dusty end
• The harder combinations involving the little finger, and why they're worth the extra work
• How to integrate these combinations into your warm-up routine alongside X's up the fretboard
Before checking out anymore information below to support this lesson. Here are the finger combinations I referred to at the end of the lesson, all below 👇
1-2-3
1-3-4
1-2-4
-
3-2-1
4-3-1
4-2-1
-
2-3-4
4-3-2
Three-Finger Hammer-Ons and Pull-Offs
The sequence is: pick, pull-off, pull-off — each finger must already be pressing before the one above it lifts
Start with hammer-ons — they're easier for most people
Pull-offs are where you'll really build control — prioritise these once you're comfortable
Keep the gain low while practising — don't let a heavy sound cover up sloppy technique
Vertical Finger Placement
Press straight down rather than at an angle — essential on thicker strings and lower frets
This is the foundation for the angled technique used in faster lead lines later on
If vertical isn't solid, the angled approach won't work either
Working Through Fret Positions
Start at the 12th fret or higher — frets are closer together and combinations are more achievable
Work down toward the lower frets — wider spacing makes everything harder
The lowest positions are the real test — clean execution here means you're genuinely building strength and independence
Don't skip the lower positions because they're uncomfortable — that discomfort is the point
The Harder Combinations — Little Finger
Any combination using the little finger without the index is the hardest category
Example pattern: pinky pull-off, ring pull-off, index — this appears constantly in Angus Young and Chuck Berry-style phrases
These combinations are also some of the most common in minor scale and Dorian mode licks
Work on these separately once you're confident with the easier combinations
Warm-Up Routine
Alternate between X's up the fretboard and three-finger combinations every day
Even at slow tempo this covers everything: finger independence, strength, accuracy, positional awareness
Give it one to two weeks done consistently — the difference will be audible
Intermediate Electric Level 5
Recommended Songs
Enjoying this course? Want to test out your new skills? Find out my recommended song tutorials that accompany this course and get total access to the site by signing up today!