
Day 1 - Week 1 warmup and the essential chord progression
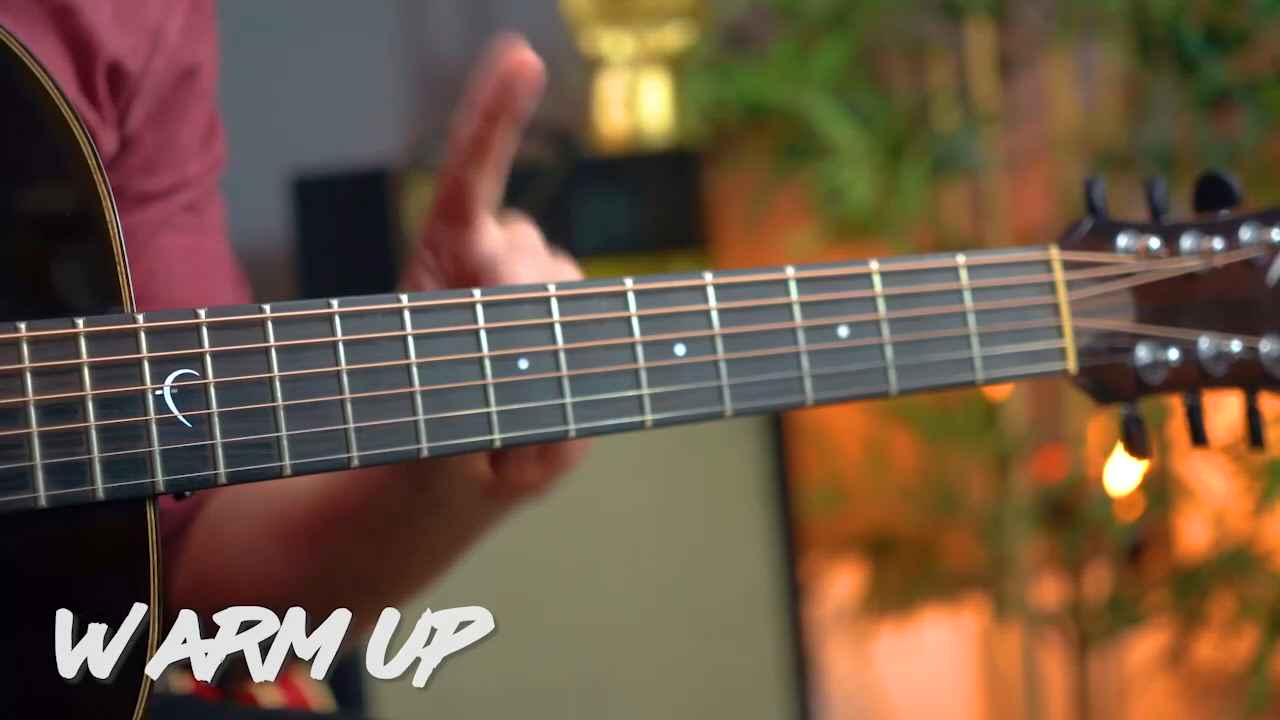
Welcome to day one of this 14 day late stage beginner bootcamp. Thank you so much for joining me, thank you for trusting me with your guitar progress, and in this video, we're gonna be looking at the essential 4 chords that we need to learn to play songs and get rhythm guitar skills under our belts, and we're also going to be looking at how to make the most of these chords, so little and. Embellishments we can add that you should know, we'll then be jamming along to a 2 minute jam track at 2 different BPMs, starting off at 75 BPM and then uh increasing that to 90 BPM. So starting off a little slower, getting you used to playing along, checking our timing, checking our chord changes are sounding great, and then we jam along to the full. Tempo. So hopefully this is gonna be really cool for you guys, and then in the coming couple of days, we're gonna then learn a riff and a lead part that we can play over this same jam track, which is gonna be a theme throughout this whole two week programme. First, I just wanna show you my number one warm up for this late beginner stage. I'm gonna get you to put your first finger at the 7th fret of uh string 6. So this is your index finger. On the final dot, I have three dots on the front of my guitar, 123, that's quite common. Or you can count up 1234567, and place your index finger at your side of this fret, so right here. And I want you to keep your elbow into your side, and the next thing we're gonna do is just place the middle finger down, again at that side of the fret, adjacent frets. But here's one thing we're gonna do totally different, which you probably have never done before. I'm gonna get you to move your thumb totally out in the front of the neck. The reason is, when a lot of people are playing beginner chords or advanced chords like bar chords and they're wanting to move forward, they're normally gripping the neck just far too hard and actually placing too much pressure from the thumb side and often just not the right amount of pressure on the finger side. So let's work on that, using your index finger at fret 7, at your side of the fret, right up against the wire. Middle finger at fret 8, also right up against the wire, holding both of those down with equal pressure, but having your thumb totally out in front of the neck or just somewhere comfortable, just not pressing down, not squeezing at the back of the neck, and press those just hard enough to hold the string down, but no more. Then I want you to keep your index finger down but lift off the middle and place the ring finger down. This is at the 9th fret, which on my guitar has a dot on top also. So 7 is still down, 9 goes down with the third finger, thumb still not pressing down, you don't have to have it out in front like this, but not pressing down. And then just lift off the third finger. And go back to pressing the middle finger down while keeping the index down at all times, but not pressing down absolutely as hard as you can, just enough to hold that string down. So middle goes down, lifts off, ring finger goes down, lifts off. Middle finger, lift off, ring finger. Lift off, if you can, and you'll be able to do this by just by putting your elbow into your side, if you can have the little finger go down at 10th fret also, while keeping the first finger down, that would be amazing, that would be real high level, really high level beginner stuff. Um, but little finger goes down, again, thumb not pressing down, but it can be at the back of the neck, but don't press the thumb down at all, in fact, don't even touch the back of the neck. Lift it off. Ring finger, lift off, middle finger. Let me do this one more time, how I would have you practise this. First finger's already down, middle finger pressed down, lift off by about 1 centimetre if you can. Ring finger, lift off. Little finger Lift off, ring finger, lift off, middle finger, lift off. Do that before doing every lesson this week and let me know how you get on with that in the comments below. So let's make a start and let's get a close up on the chords that we'll need to jam along to this jam track. The first chord we'll need is a G major chord, and this is the standard way of playing that G major chord. Which would be absolutely great for this song, there's nothing wrong with this at all. However, a really common variation, uh, would be with four fingers, so finger 1. 23, and 4. And this is one that we should definitely be used to because it really helps with the change to the next chord, which is the D major chord and means we can have what is called an anchor finger. So if you happen to really prefer this G, that's absolutely fine, but I find it way more common and actually more pleasant sounding to play a G major chord like this. There is also a 3rd variation of this, which we'll look at at this stage, which I think is brilliant if you can play it, which is without the 1st finger, and it's the same thing but we actually mute. String 5, so. There's a G5, essentially a G power chord, where we strum all six strings. But string 5 is muted by the underside. Of that middle finger, that one would also work in this context and it's going to be a big theme of what we're looking at here, musical keys, so in this case the key of G, but also musical context, in this case, kind of a pleasant sounding pop song, is what we're going for, a four chord pop song if you will. So as a recap, we have the first G major. G major variation 1 with all four fingers. And then variation number 3, which is a G5 core. Kinda sounds like a slightly cleaner. Um, variation of this. That 2nd note, or string 5. And then, of course, Basic one, which to be honest, I really rarely play. So the one I'm gonna encourage you to go for is this one, cos it's the one that we use the most. Now let's have a look at some D major chord, and chord variations. Here's our D major chord as standard, we often play this from string 4. However, we can let string 5 ring out as well. It does technically make it a D over A cause D should be the lowest. But it doesn't sound bad. And what we do want is ideally this thumb sitting on top, which is shown as an X on the chord diagram, so that we can strum string 6, but it's just not heard. That's not all the way over like this, you don't have to adjust your wrist. What you want is fingers 12 and 3 curled over. Right at this side of the fret, and if those two things are in place, we should be able to have this thumb comfortably. Over the top, if not just have it low, keep the fingers on the tips cause we need these strings ringing out. And make sure they're at this side of the fret, so the side nearest you, and not at this side, otherwise you're gonna have to press on needlessly hard to get the note ringing out and you'll get much bigger lines on your fingers. The biggest variation we should know here is adding this little finger on where it was on the G chord. Will pretty much sound great adding that on at any point. Example, just doing Almost a will sounds great in this context, and you can do that for any uh song that follows a similar chord progression to this. Next chord is E minor, nice and simple, no anchor finger on the chains. E minor just with two fingers, finger one and finger 2, at the second fret of uh string 5 and 4, all six strings cause the root note. Is here. Next chord is the C chord, now this is the cord which can give people a lot of problems at any beginner level, we learn this C chord by placing our fingers down 12 and 3, ideally, again on this angle, kind of. Like this, so facing towards you, towards your right shoulder, facing towards here, and pinching that first finger like this, rather than them being straight with the frets, we need to go like this, so on this angle. But once you know where to place your fingers, the real thing we're wanting to do is have this C chord go down all fingers at the same time, fingers 12, and 3 at the same time. So if you're not used to this yet, have a go at this, play the C major chord, place your fingers where they need to go, lift it off by about 1 centimetre. And then place them down, lift them off by 1 centimetre and place them down. Lift them off and keep this shape in the air when you lift them off, and then press them down. Lift it off, press them down. Lift them off, press them down, and just try and lift them off just by 1 centimetre. Again this thumb over the top really helps to anchor how my fingers are because there's a grip of the neck just like this, just here, and on the underside, not on the underside here, but on the underside here, which I do when I play this C chord, and that really helps, so lift off, back down, lift off. Of course there's the CAD 9 variation, which is very similar to this G chord. In this case, I really want us to get this full C chord mastered because we need all fingers lifting off together and going down together as a crucial stepping stone at this point. Please be vigilant with that. But of course the CAD 9 does work in this context of G, D, E minor. So a 4 chord song in the key of G. So let's have a single strum of all the chords that we're gonna be playing in this jam track, and those are. This variation of the G major chord keeping the third finger down, lifting the others off, going for a D major. ru m m ing this one. E minor, so all fingers lift off, first two fingers go down together, have them touching before they go down. There's the minor. C major chord, middle finger stays down. First finger lifts off and try and make this chord in the air, my middle finger's still down, but the other fingers are just 1 centimetre off and they press down. And we strum. And along with me or in your own time, pause the video if you need to, we'll go to that G chord and just do a single strum or what we call a spread. Of each one of those chords. Which is how our song will start. Give that a go and pay attention. To how you're changing. And how are you playing these chords? And when we do the spread, We really want it to sound lush and lovely, so it's a purposely slower strum when we do one strum per bar. I'm not tensing, I'm not really. It's the harshness of that when my pick is deep and I'm really Don't need that. Do you want to catch every string evenly. And kind of dang That kind of thing, technical term, boom boom dang. And if you're in Have a guitar with decently new strings, it should sound something like. Which is what we'll be going along to in this jam track in a couple of minutes. The one last thing we're gonna look at in this video is a strumming pattern, the most common strumming ever, but it has a tie in it, it's not a bow tie, it has two notes tied together, which I wanted to explain here now. So the strumming pattern, which you might be aware of from other videos of mine, is going to be down, down, up, up, down, super common strumming pattern, down. Up, up, down. Up, down, now, let's just have a recap of strumming 101 before we make sure we get this rhythm right, strumming is fundamentally kind of a twist of the wrist motion, when we get up to this late beginner intermediate stage. When you start off at total beginner, we're just moving your arm up and down, but when we not move, Wrist up and down, but kind of twist it like going maybe, like this, maybe. That's what we want to do with these strumming patterns, and that makes it really, really effortless. If you just do this with your hand like maybe, super effortless, right? That's how we can do down, down, up, up, down, and kind of do higher strumming patterns like this. That's the twist, that's what we're going for when you're going for these higher level strumming patterns, very different motion to just 1234 on the beat, OK, so let's have a go at this together, I'm muting my strings and we're gonna go down. Up, up, down, down, down, up, up, down, with a twist of the wrist. Join in with me, 234, down. One last time. I'm also holding my pick between my thumb and my first finger on the side of that first finger, so hold your hand like you're holding an ice cream cone. Place the pick on top of that first finger, thumb on top of that, and that's how I hold my pick, keeping the fingers nice and tucked away, just like I'm holding a microphone or an ice cream, but with the thumb sat on top of the pick. You can hold it like this if you prefer. But that will be more of a struggle, or you'll come into more perhaps issues when you start playing single strings, which is something we're going to be doing in the next video in this series. So two together, OK for strumming, not great for single string picking, therefore, why not get used to, if the, especially if you're finding this video easy, why not get used to doing it with a much better picking technique, which is gonna enable you to. Get kind of better picking accuracy. The final thing to make sure we're doing with the strumming is making sure that that hand is always moving to the same tempo, which is actually 1 and 2 and 3 and 4, and we're just catching down, down, up, up, down. Up, down, which means we kind of have this ghost strum, and we ain't afraid of no ghosts, so. Down, down, up. Go strum down, up, down, we don't catch that third beat down strum, and that's where we need this tie, which is a link of two notes with uh a line between them, with a curved line between them, and that is how this rhythm is written when we're not playing on a main beat, we're not playing on beat 3, which makes it very late stage beginner. So one final time. up. Down, joining with me, 234. Yeah Now let's have a quick warm up of what we're gonna do along to this jam track, and then we'll have a go along to it in the video, and you can just skip straight down and play the jam track and jam along to it, even in a separate video on the page below. So when we're playing along to the audio track, we're gonna begin with spreads, so single strums. For a whole bar. A And see that's gonna happen again, single strums, no excuse for this not to sound absolutely wonderful. I want these chords to sound. Lush and as gorgeous as possible. Good All the good things that we were doing with these anchor fingers and raising the fingers together, placing them down together, please still do at that early stage. Nothing worse than kind of playing a decoy. And then kind of instantly lifting it off and then taking ages to change to the next chord. We'll see where you're at with that, but they're my top tips, that's what we're going for, and then, once we've done 2 rounds of that, for the remaining 1 minute and a half minutes or so, it's a 2 minute jam track in total, we'll do. Now if you really struggle with this and you're not used to playing in time and things like that and you've not played along to any song before ever, just keep going with the spreads. Just change chord when I change chord and aim for beat one of every count of one. 34 34. Every beat one, for example, and try and keep going for that couple of minutes. This will be so powerful for you, especially if this is something you've not done before. So let's start with this at 75 BPM and just as an example, I'll show you the counting here, I've got the uh file loaded up. This is at 75 BPM. 123, single strum. 34 4 If you need more time You can just lift off and change early. But we really want you to work towards keeping your fingers down for as long as possible and making the chin. So that We can make the changes That kind of I'll pause it there, feel free to pause this video and have a little practise just of that on your own at that kind of speed, just so that you're really clear on what you're doing and you've got it in your fingers, got it under your fingers and kind of in your body. You don't wanna think too much about this stuff when you're jamming along to a jam track. It's very instinct, and you're trying to make sure there's one sound along to my guitar. So when I strum. You strum at the same time, you don't want to strum before or after me, you want to be aligned at the same time, and when you hear those drums, for example. 1234, ba ba ba ba ba, your strums are at exactly the same time, not kind of. When you choose, OK, we, we don't wanna go off, we don't want to vary from that jam track or to me, you're at the same time. That's what we're working towards. Let's give this a go, this is exciting, especially if it's your first time doing this. Let's go from the very top. So 75 BPM ready on the G chord. 12 single strung. up. And we the Make it sound great There we go, so that's our first jam track, and that is a 75 BPM. If you need to practise along to that a couple of times, absolutely. Pay attention to something different at each time, maybe your first time, you're just paying attention to just the chord changes, and that's what you're really concentrating on. Maybe the next time you play through, you OK, OK, you got chord changes, try and play along and make sure the. Drums are lining up to the drums, ba ba bam, bah bam, and to my strumming. Whatever you do, try and only focus on improving one thing each time you play along to the jam track. Maybe that one thing is just keeping going for the full 2 minutes. Now let's have a go at this at 90 BPM if you feel you're ready. If not, it's OK, it's something we can look at doing tomorrow, which we will have a recap on all of this tomorrow. But let's change the BPM now to 90 BPM. And that is at this tempo, let's just have a little listen. 12, and I'm 4. That's the speed we're going for? Starting off with single strums, so that tempo would be. So it's not going to sound a lot different at this stage, it's gonna feel a lot quicker. Especially compared to just playing it along at that first tempo. Let's press play and see what happens. Join in with me on the count. 212, single strums. Be going. To finish up. And there we go, that's our first rhythm part of this jam track done. What we're gonna do over the next couple of days is we're gonna look at tomorrow, look at a riff that we can play along to this, and then look at a lead line that we can play over this, using something called the G major pentatonic scale. However, where we're going to actually start tomorrow is just having a recap on everything we've done today and actually jamming. Along to that jam track with the rhythm, first of all, so we have that as our basis. We'll also do that on day 3, so that we're keeping what we've got rather than just always piling another thing on top. But we're also gonna be looking at some cool single note stuff which, uh, acoustic guitarists in particular, I feel don't often look at enough and it can hold them back, even with their chords and rhythm playing, not learning. Enough single note lead lines tends to hold people back. So if you wish, today you can spend a few more minutes jamming along to this same jam track, along to the audio track, so without the prompts, playing along to the jam track video, which is also down below, so that you've still got the on-screen prompts. You do what you need to do to make sure you're ready and setting yourself up for success for these next couple of days, and I'll see you there, bye bye.
In this video
14 Day BB Day 1a - G D Em C 75bpm
14 Day BB Day 1b - G D Em C 90bpm
Welcome to day 1 - let's get started!
We'll start day 1 with a simple warm up, which is the ideal thing to do for the first 2 minutes of each day this week. We'll then look at the 4 essential chords for beginners should master to set up for success!
Week 1 warmup
Day 1 chords
Day 1 and our first jam track uses the chords G major, D major, E minor and C major. The chord progression for our first jam tracks is in this order, and is therefore in the key of G major, but more on this in tomorrows video.
Day 1 strumming
The strumming pattern for todays jam track is the most common strumming pattern ever. Here's 3 things to know about this strumming to set you up to be able to play it effortlessly!
We don't play on beat 3, so it is written with a tie over beat 3
Play only the thicker strings on down strums and thinner strings on up strums, apart from beats 2 and 4 when all notes of the chord can be strummed
Lift off the chord straight after beat 4 to make it to the next chord by beat 1 - this gives plenty of time to change chord (and is how the pros make it look effortless!)
Day 1 visual jam track - The four chord jam
Jam along to the video below, which includes on screen chords. Once you can do this, try playing along to the audio track, which is just below the video at the top of the page!
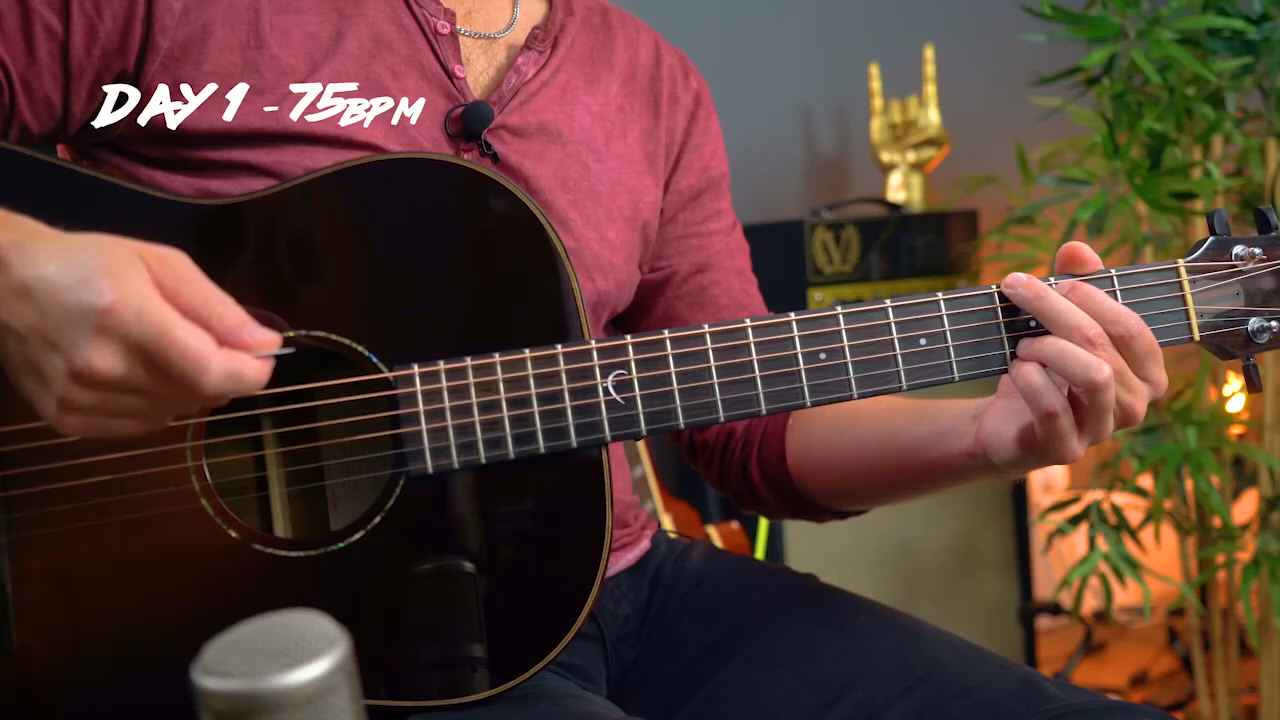
Start by playing along at 75bpm with the video below.
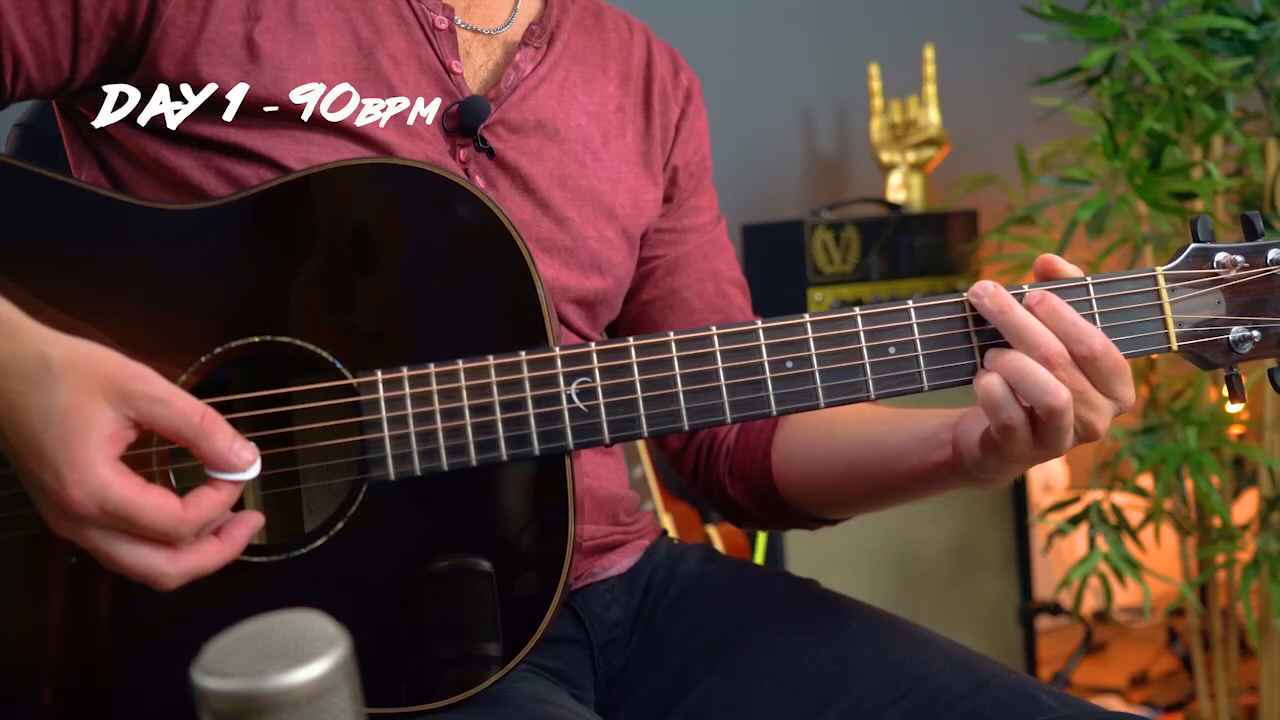
The end goal for day 1 is being able to play along to the full jam track at 90bpm, which is covered in the video below.
Day 1 key points
Most common chords in the key of G are G major, D major, E minor, C major
Songs that use this progression are called 4 Chord Songs
Songs that use the same progression repeated throughout are faster to learn, meaning you can add more songs to your repertoire easier!
When to move on from day 1
The biggest mistake online learners make with my daily bootcamps is feeling like they shouldn't move on until each day or jam track is "mastered" - don't make this mistake!
Days 2 and 3 of this bootcamp use the same jam track, so you still have two more days where you can strum along to the day 1 audio jam track if desired. However, days 2 and 3 will teach and test your guitar skills from different angles - so there is no need to be able to play day 1 perfectly before moving on to day 2 - it simply isn't a requirement!
Don't hold yourself back. Commit to doing each day as best you can, but then please move on so you can see how learning different things can improve your overall playing far more than repeating the same thing again and again ever could.
Go easy on yourself, and I'll see you tomorrow for day 2 - you got this!