
Fingerstyle 00 - Complete guide to fingerstyle playing
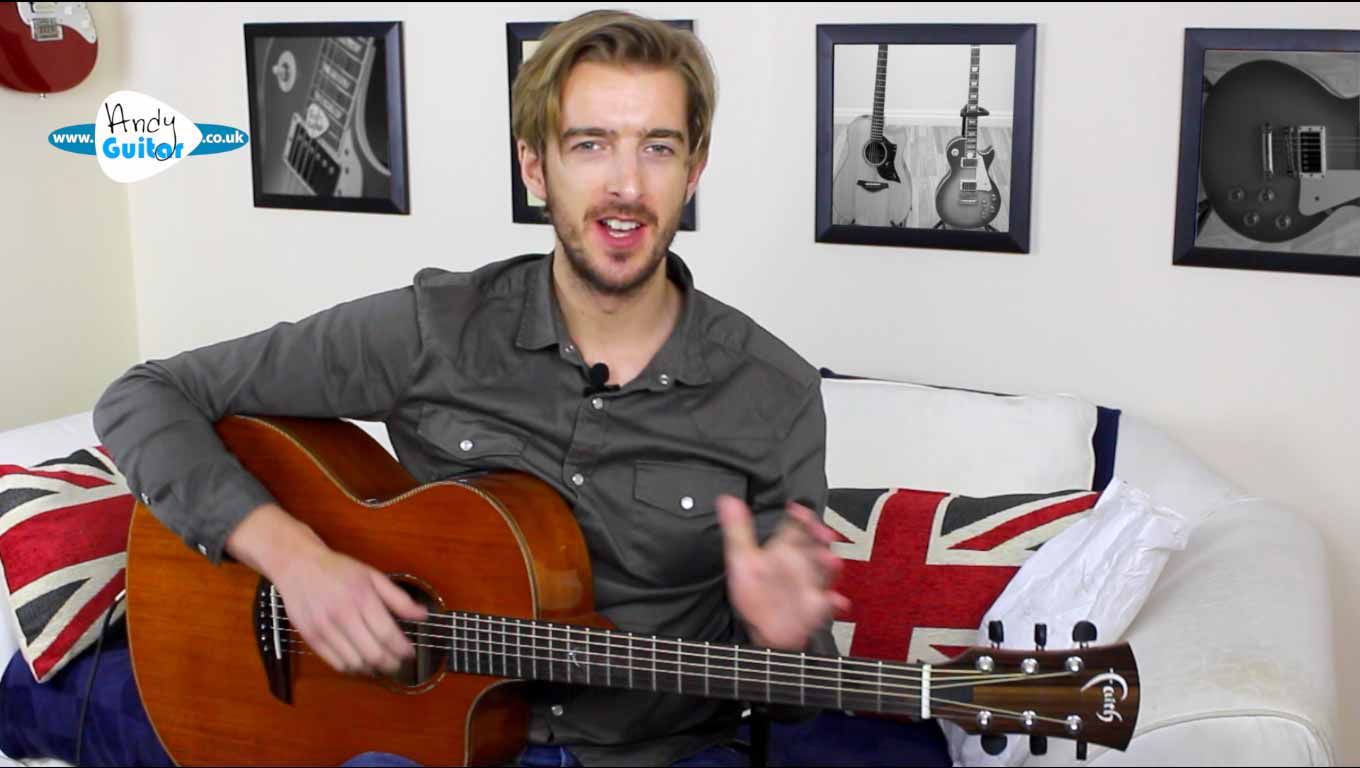
Hi guys and thank you for checking out my fingerstyle course where we're looking at all the principles of finger style playing and giving you some easy solo finger style arrangements. This is pitched at ideal for people who have already done the beginner's course, but if there are things that you haven't covered out of that, it's not all applicable to this. And we will be doing a recap, particularly in this part one of the finger. course where we'll be covering all the fundamentals such as how to play the C major scale and everything from how to hold the guitar in in fingerstyle fashion and uh all the right hand principles that we'll be then taking forward onto part two which is including all our fingerstyle arpeggios. So really working the right hand in part two, which will be on DVD too for the physical format of this. And in part three, which is on DVD 3, if you're checking out the uh physical format of this course, we'll be checking out how to play some easy finger style arrangements with chords and a melody for songs such as Happy Birthday and Ode to Joy and that kind of thing. So some really cool stuff. At the end of this course, you should be able to go on to learn any of the fingerstyle songs that I teach on my website and YouTube channel. And er you'll have all the principles to go on to learn any fingerstyle kind of song that you want to learn. So in this first video we're checking out uh this introduction to finger style guitar which is things such as how to hold it and um some of the right hand principles and er the things that are slightly. Different to uh to any other style of guitar. So we can break down finger style guitar into two right hand principles with, with the finger picking style of things. Um, one is called what I call the orthodox method and how it was taught to me was the orthodox method. And the second one is called the claw hand method. In wider terms these could be called different things if you're comparing my course to other courses or other things that you read on the internet. But in essence, um, the orthodox method, if we just, uh, compare it to for example the C chord. Is where we would set up with fingers 12 and 3 on strings, uh 12 and 3 like this and then the thumb. Is assigned to any of the thicker three strings, OK. So an example of an orthodox or the first example of the orthodox method would be this pattern. And if we were to change chord, the root note would change with the uh with the bass on any of the thicker three strings. That um is one method or one principle with the right hand. The second one, which is the other school of thought, is the claw hand method, or as I say, as it was taught to me as the claw hand method, which is where the thumb and the fingers can go on any of the six strings depending on where they're needed. At a very, at a single string method, for example, that is much easier. As soon as we start bringing in multiple strings at different times, um, as soon as it gets more complex, the, the claw hand method gets very complex. And we won't be covering too much of it, but we'll be covering that a little bit. Um, the main part we're gonna be covering it with is in the second lesson in this series where we look at the C major scale with finger style. So with the claw hand method, this would be thumb, first finger, thumb, first finger. And you can see then the thumb and first finger end up on string two, which would only ever happen really with the claw hand method. Um, all these are principles. And principles and rules with all styles of guitar are made to be broken. And there will be song examples or teaching examples or playing examples that go against the things that I teach here with these teaching examples. The way, the reason I've laid it out here, like in this fashion is for teaching purposes to really make you guys progress. Specifically for those of you that have done the beginner's course of mine and you want to kick on forward and, and really make some good progress. So, uh, the other thing that we're gonna be doing is referring to this hand and I'm gonna be referring to it with the thumb and then fingers 12, and 3. Occasionally we can also call them index, middle, and ring finger, but I'm gonna stick to it as much as I can uh as much as I can, we're gonna stick to 12 and 3, OK? And then of course we numbered our strings 1 to 6. Now finger style compared to any other style of guitar is a very finely tuned skill. We're we're getting a lot of finely tuned finger motion or what we call fine motor function. In the right hand specifically and we need to pay attention to an awful lot of other things that we might not have needed to pay attention to if you're just strumming a three chord song, OK? And um a few of those things um are all born out of of the seating position. So what you need to do, if you're practising finger style guitar for any length of time, you need to find a chair that is for the right height for you. And the right height chair should be one where your leg is just tilting slightly forward. I'm having to use a cushion to get me at the right height on this particular chair, but if your leg is just about parallel in front of you or dipping down ever so slightly to the to the knee, then that chair is right for you. The other thing you want to check out with your chair is making sure you've got good lower back support. That lower back support is the first area which is actually going to be holding your guitar, cause we're not really gonna be holding your guitar with your hands. We're gonna be making sure it's solid with your body so we can keep your hands really free and make sure that we're not limiting the motion how how we might, OK? So first point of contact. With holding the guitar is the lower back. You need a chair that supports your lower back, you need that contact there. The second point of contact, which is actually holding the guitar in place is going to be the, the really the, the right leg, which needs to be raised. I'm right-handed, so this is my right hand. And I'm using. A footstool. Hopefully you can still hear me. This is my footstool, I believe this was around 6 pounds sterling from Amazon. Um, it doesn't matter which one you use, the important thing is that we're gonna raise this right leg. And we're gonna raise it up to a point where. The guitar sits nice and close into your body so that it is essentially wedged in at uh at the hip, so that it's right there. So lower back. Inside of the hip with the rears of the right leg. And then finally, the third principle is at the elbow, we're gonna really wedge it in. Here and and and we want to make sure that that contact is nice and comfortable so that we're not cutting off any veins or arteries or anything so that it's comfortable. But the guitar is solid if I sit now without holding it. And if I'm having to hold it, you know, with with the hand at all or I'm resting my hand to hold it or anything like this, then when we're in a seated position, that is typically not what we want. Of course, there are many finger style guitarists that don't use a a raised right leg. And that playing a higher seat for example. But these are the principles that brought on my finger style playing no end. And before I, I started, you know, implementing these things, I was a little bit lost with my finger style I'll be honest. I didn't really know a clear path forward. So those things are are absolutely massive. Now what that means is just, just to have a close up on the right hand for a second. That this right hand is free to move as it as it needs to and as it's called upon. As opposed to, and I have taught this in the past in a couple of videos, but generally on electric guitar, as opposed to having the wrist rested here or as opposed to having the pinky rested. I'm against both of those things. They're typically used, especially with the wrist being rested here. That is typically done with guitarists who play stood up. Um, a, a buddy of mine and er er er er er someone who I've respected for an awful long time, someone called John Gomm, he's also based in Leeds, and he pretty much plays with his wrist rested here, however, he often plays stood up most of the time. So that's where that comes from. So many guitarists play with their pinky rested here. And it's not wrong, it's just not what we're going for in this particular video, OK? And the final thing is if we have a close up on the right hand, um, we're gonna make sure that your thumb is ahead of the fingers like this, so almost like I'm giving the thumbs up and then I tilt my hand into position. That's where it's gonna be and and so that this never happens. And what that will um that will ensure. If we do this pattern. Which is the first one we're gonna go for, is that we don't get this kind of motion and this kind of sound. Which only happens when your thumb is not ahead, but we wanna play a good. Deal of attention. And this pattern is in video 4. That the thumb is ahead of those fingers and you're not getting too much of this sound, you're plucking. Particularly with the fingers, into the hands and you're plucking straight out, not along the string. Um, so that is all those principles, you can see them with this, the, I'm, I'm pretty confident that I'll have the PDF included in the download or the DVD. Those, uh, PDF documents are what I'm using here to teach this. So you can have a reread of those or a rewatch of this video later on, uh, you know, after you've done a few videos and you're thinking, oh what was this, what were those two methods again? Feel free to rewatch this of course and come back to them. But they're all the principles that really brought on my guitar playing and the particular exercise out of this whole DVD that transformed my finger style playing was the exercise at the start of part 3 or DVD 3, which is inside out and then going on to inside out and outside in. That exercise is the crux of this whole course as well as these principles here, and that is the thing that transformed my playing far more than anything else I can give you. But a word of caution, if you skip straight to that section and you don't have the fundamentals down that I've just taught you now and that we'll be working through in this first disc and and first part. You know, you, you may end up not getting the progress that I've I've just promised that you will with that exercise. So work through this in order and um hopefully I really, really feel that your plane will transform. Because mine did following the principles that I'm sharing with you guys now. Really hope you enjoyed this course guys, of course we've got loads of er fingerstyle songs, loads more uh popular songs on the website and uh loads more added all the time, but let's get straight on with this course now.
In this video
Free Fingerstyle eBook Guide
This first section presumes no prior knowledge of fingerstyle. We cover all the basics such as optimum playing position, finger names, chord/ scale relations and an easy finger picking pattern to get your fingers working.
We will also cover music theory concepts such as keys, diatonic chords, the major scale and arpeggios. These are all essential to being able to play melodies at the same time as a bass line or chords for solo fingerstyle guitar. They can be used as a refresher or if you are learning these ideas for the first time.
In my opinion, there are two main methods to playing fingerstyle guitar. Understanding and using these methods from this early stage will give you the skills that you can use going forward.
Orthodox method
This is by far the most common method. Fingers 1, 2 and 3 on the picking hand are assigned to strings 1, 2 and 3 and only ever play the string they are assigned to. The thumb can play any of the thicker 3 strings, i.e. strings 4, 5 and 6, but never the thinner strings.
Claw hand method
With the claw hand method, any finger can play any string. The thumb tends to begin on the thicker strings, but it can also play any string. This is less common and can be very complex when all fingers are in use so is generally not recommended, but is used for certain songs. In this course, we’ll use the Claw Hand method in lesson 2: C major scale with fingerstyle and lesson 10: Banjo Rolls!
But remember, all rules are made to be broken. Different styles and songs will call for variations on these methods. This course will show you the exercises, songs and patterns I learned to make massive leaps forward in my fingerstyle playing and the playing of many others I have taught since.
A word of caution...
If you are reading this, I imagine you have followed many of my videos but are perhaps still new to fingerstyle guitar. This being the case, you need to know that fingerstyle is a finely tuned technical skill. Anybody can learn it. However, it can require more training and repetition of proper technique than you may have needed to do in the past.
Keep drilling the exercises and songs in this course, (especially the ‘Inside Out’ patterns that occur from lesson 6) and over time you will be rewarded. You will gain the ability to play any fingerstyle you want if you drill these exercises and songs over the coming weeks and months!
Fingerstyle
Recommended Songs
Enjoying this course? Want to test out your new skills? Find out my recommended song tutorials that accompany this course and get total access to the site by signing up today!